How to Build a Product Demonstration Kit for Stainless Steel Cutlery Sales Teams
How to Build a Product Demonstration Kit for Stainless Steel Cutlery Sales Teams
For stainless steel cutlery distributors, wholesalers, and importers, a well-prepared product demonstration kit can make customer discussions more effective. Buyers may understand a specification sheet, but seeing and handling a spoon, fork, knife, or complete flatware set gives them a clearer sense of weight, balance, surface finish, and overall design.
A demonstration kit is particularly useful when sales teams introduce a new collection, visit retail buyers, meet foodservice purchasing teams, or discuss OEM and private label projects. The goal is not to carry every available model. It is to select representative products that help customers compare options and make informed purchasing decisions.
1. Define the Audience and Purpose
Before assembling the kit, identify who will use it and what decisions the demonstration should support. A distributor presenting products to retail buyers may need attractive samples, packaging examples, and clear set configurations. A foodservice wholesaler may place greater emphasis on durability, ease of handling, and suitability for frequent use.
For a private label customer, the demonstration may focus on handle designs, logo placement, finish options, and packaging customization. For a wholesale buyer, it may be more important to compare product ranges, standard specifications, order quantities, and available combinations.
Choose a primary purpose for each kit. A focused collection of relevant samples is easier to explain than a large assortment without a clear structure.
2. Select Representative Spoons, Forks, and Knives
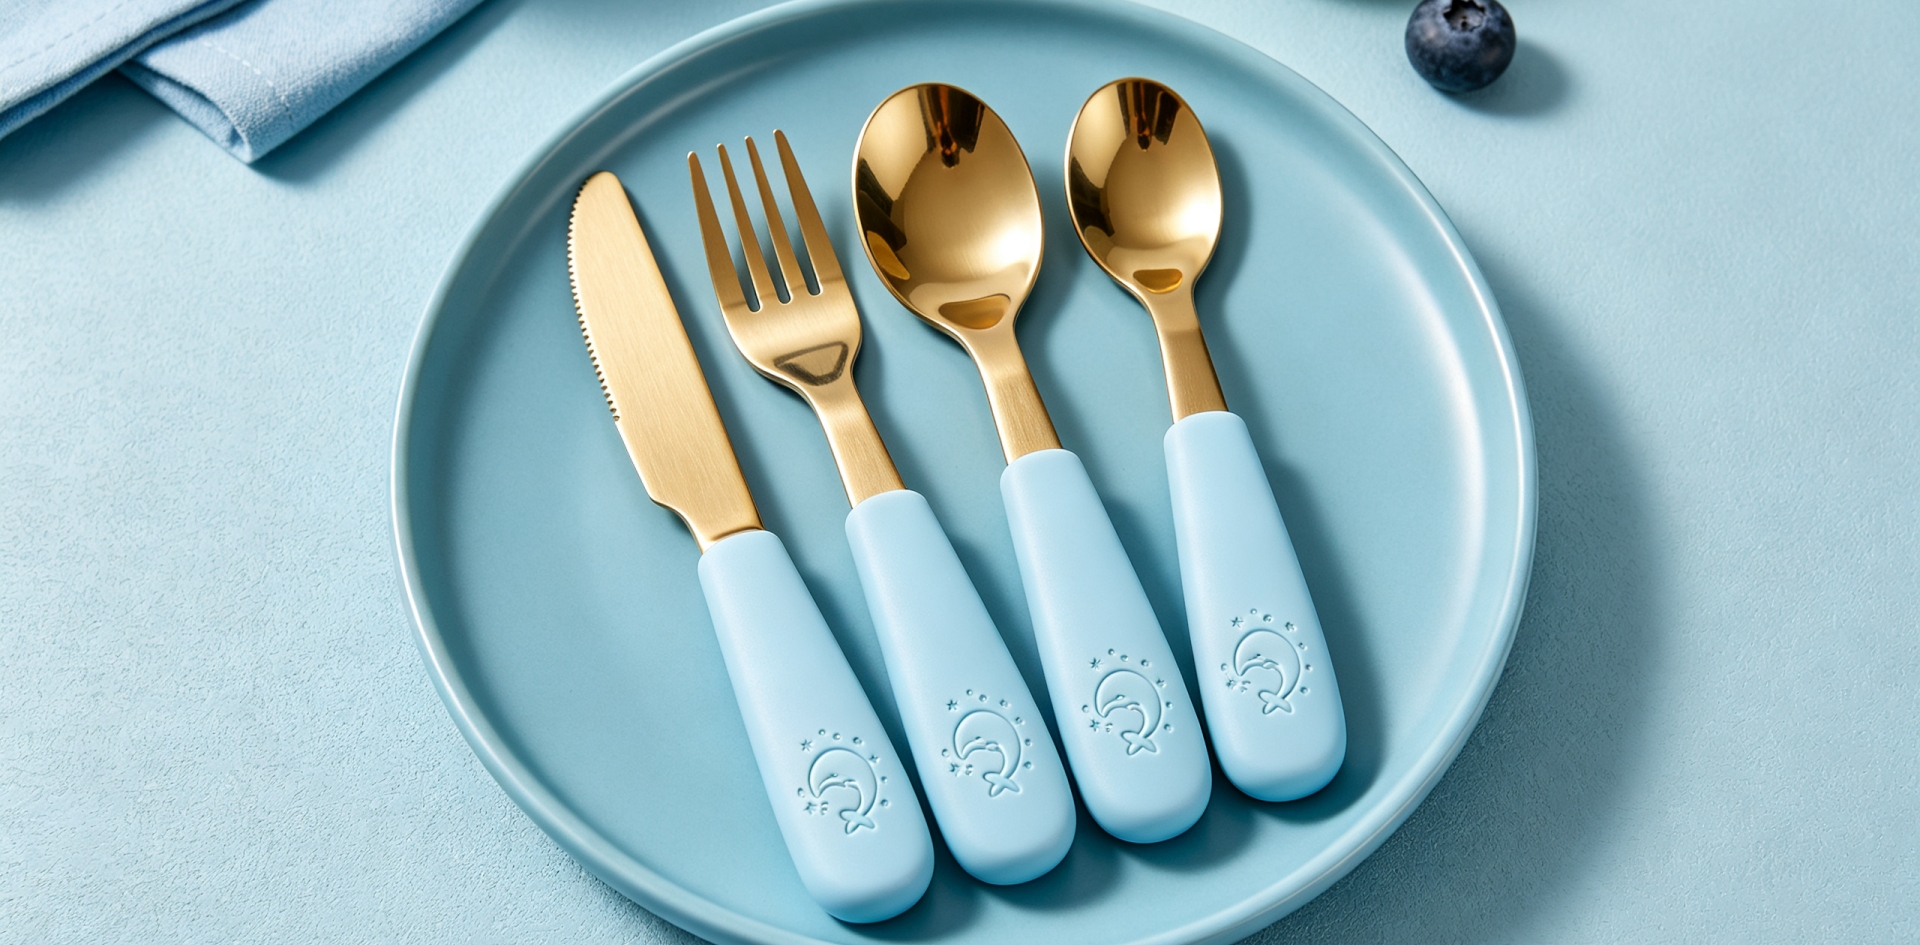
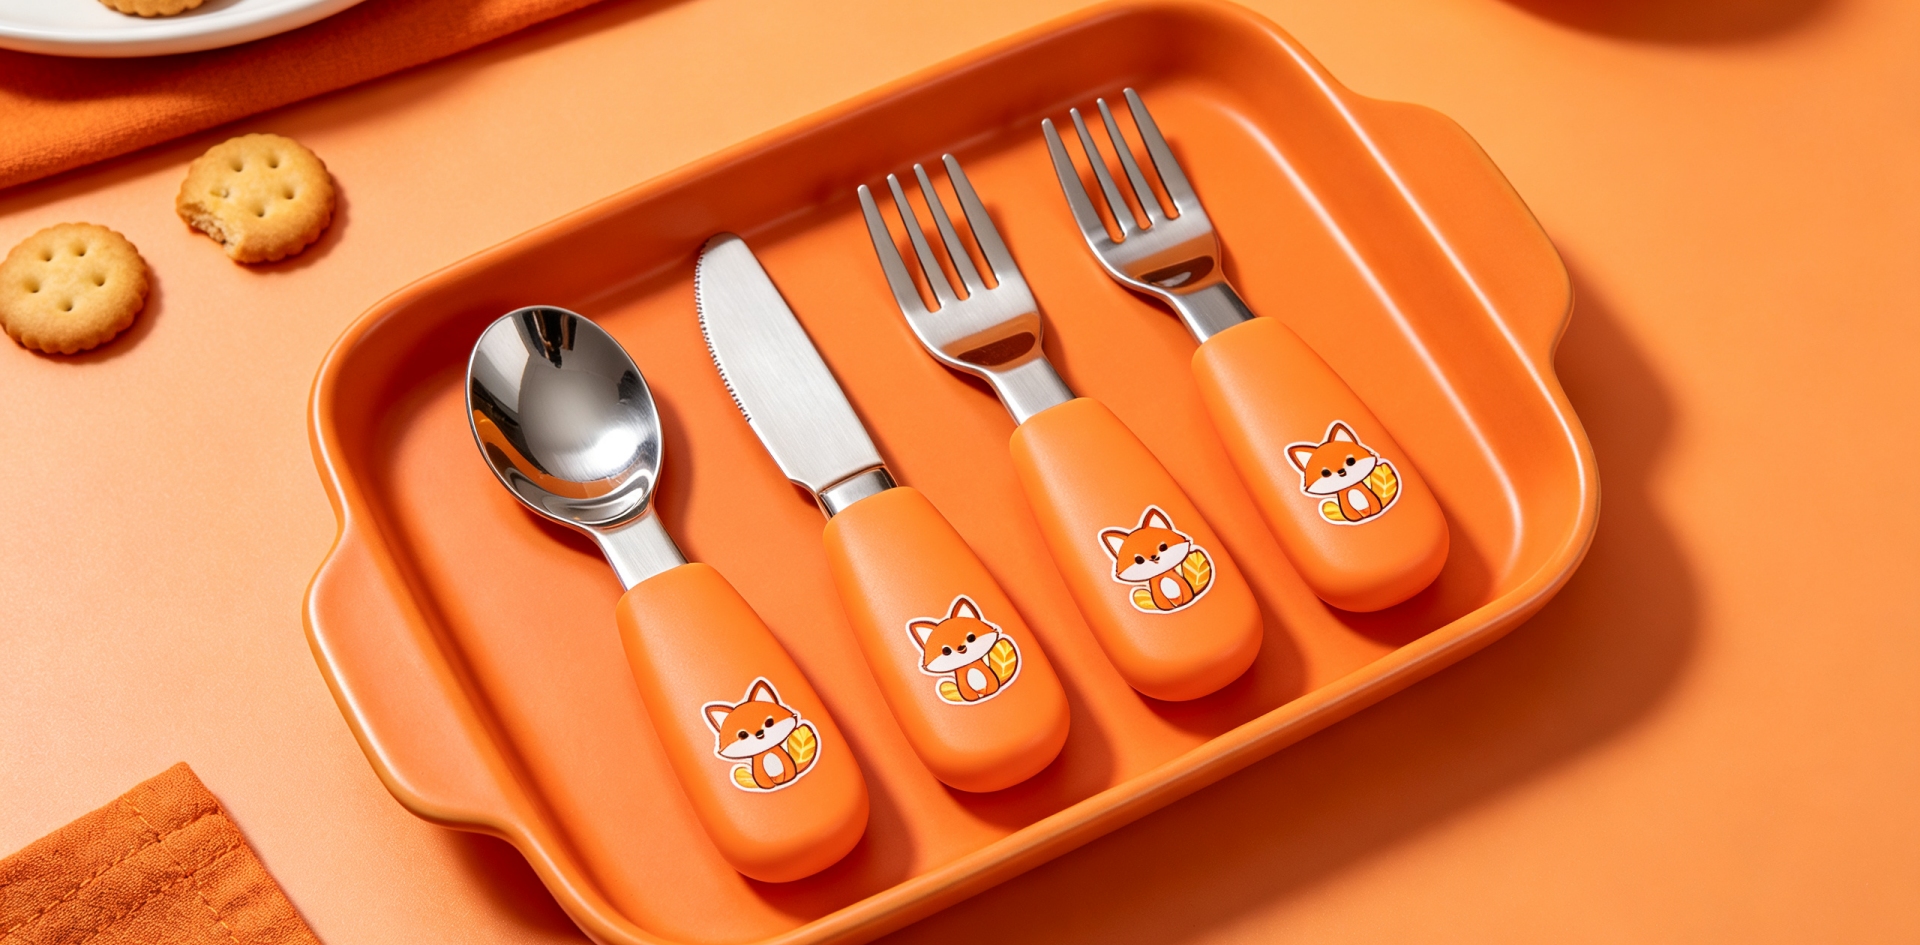
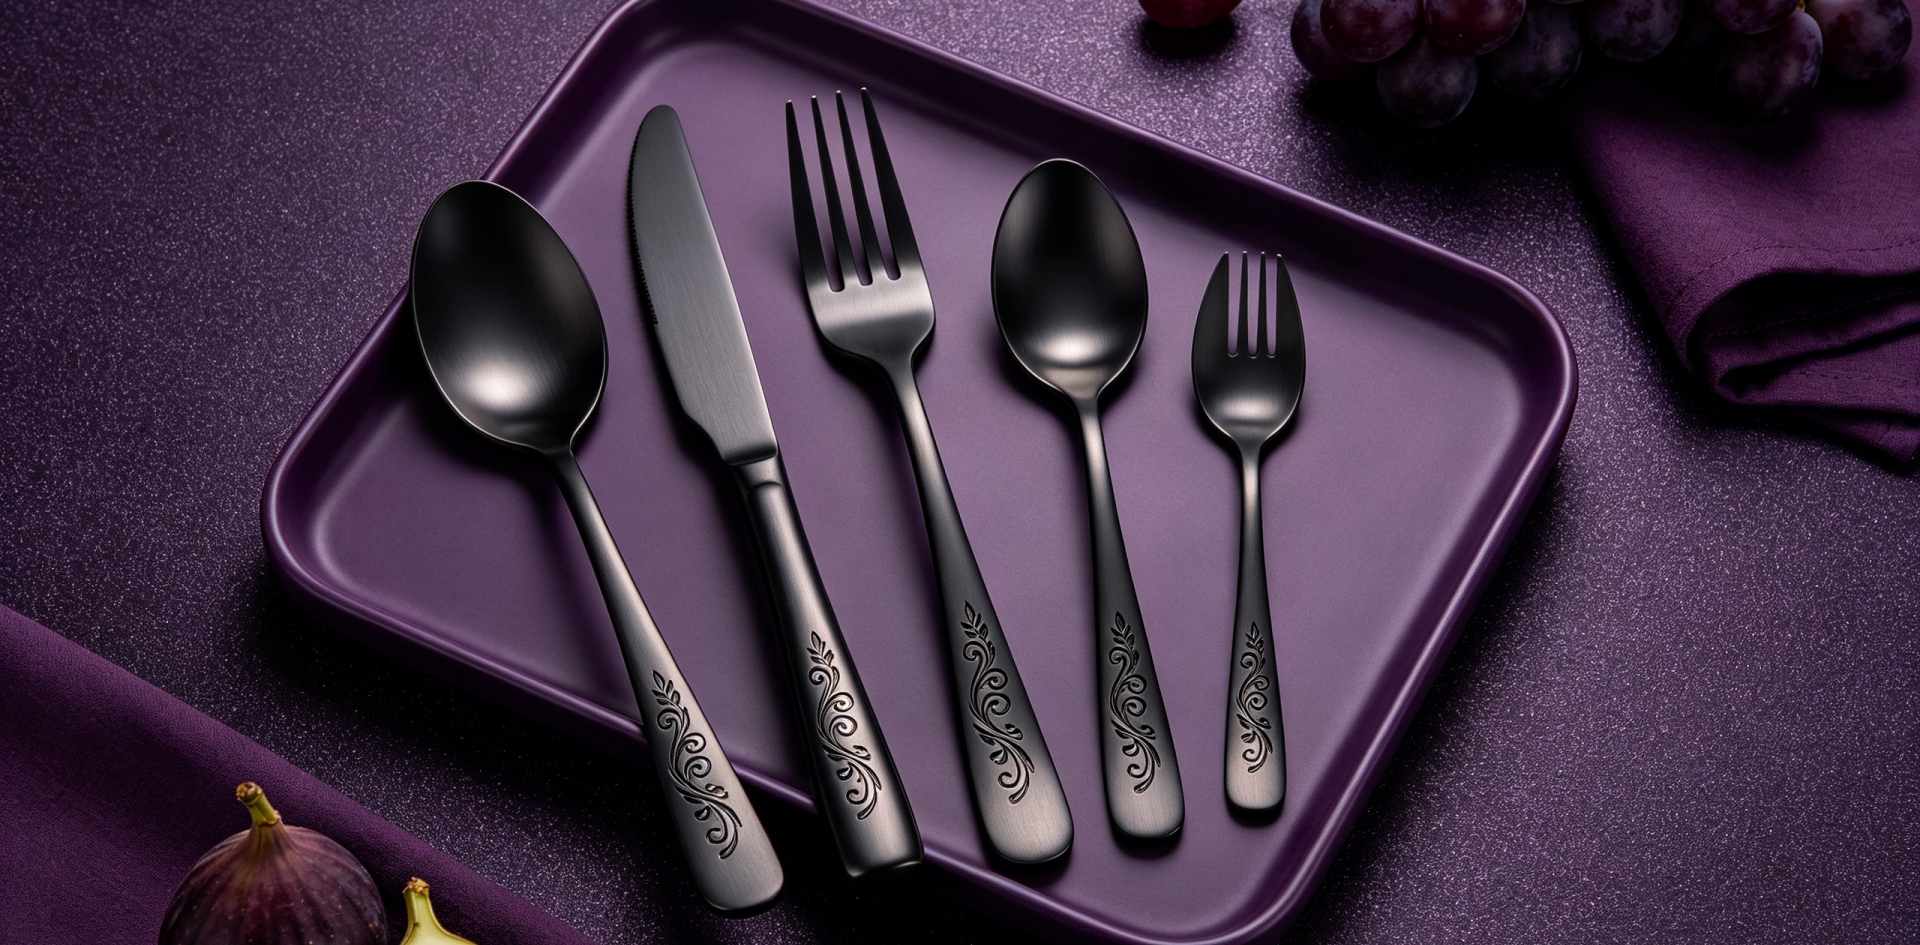
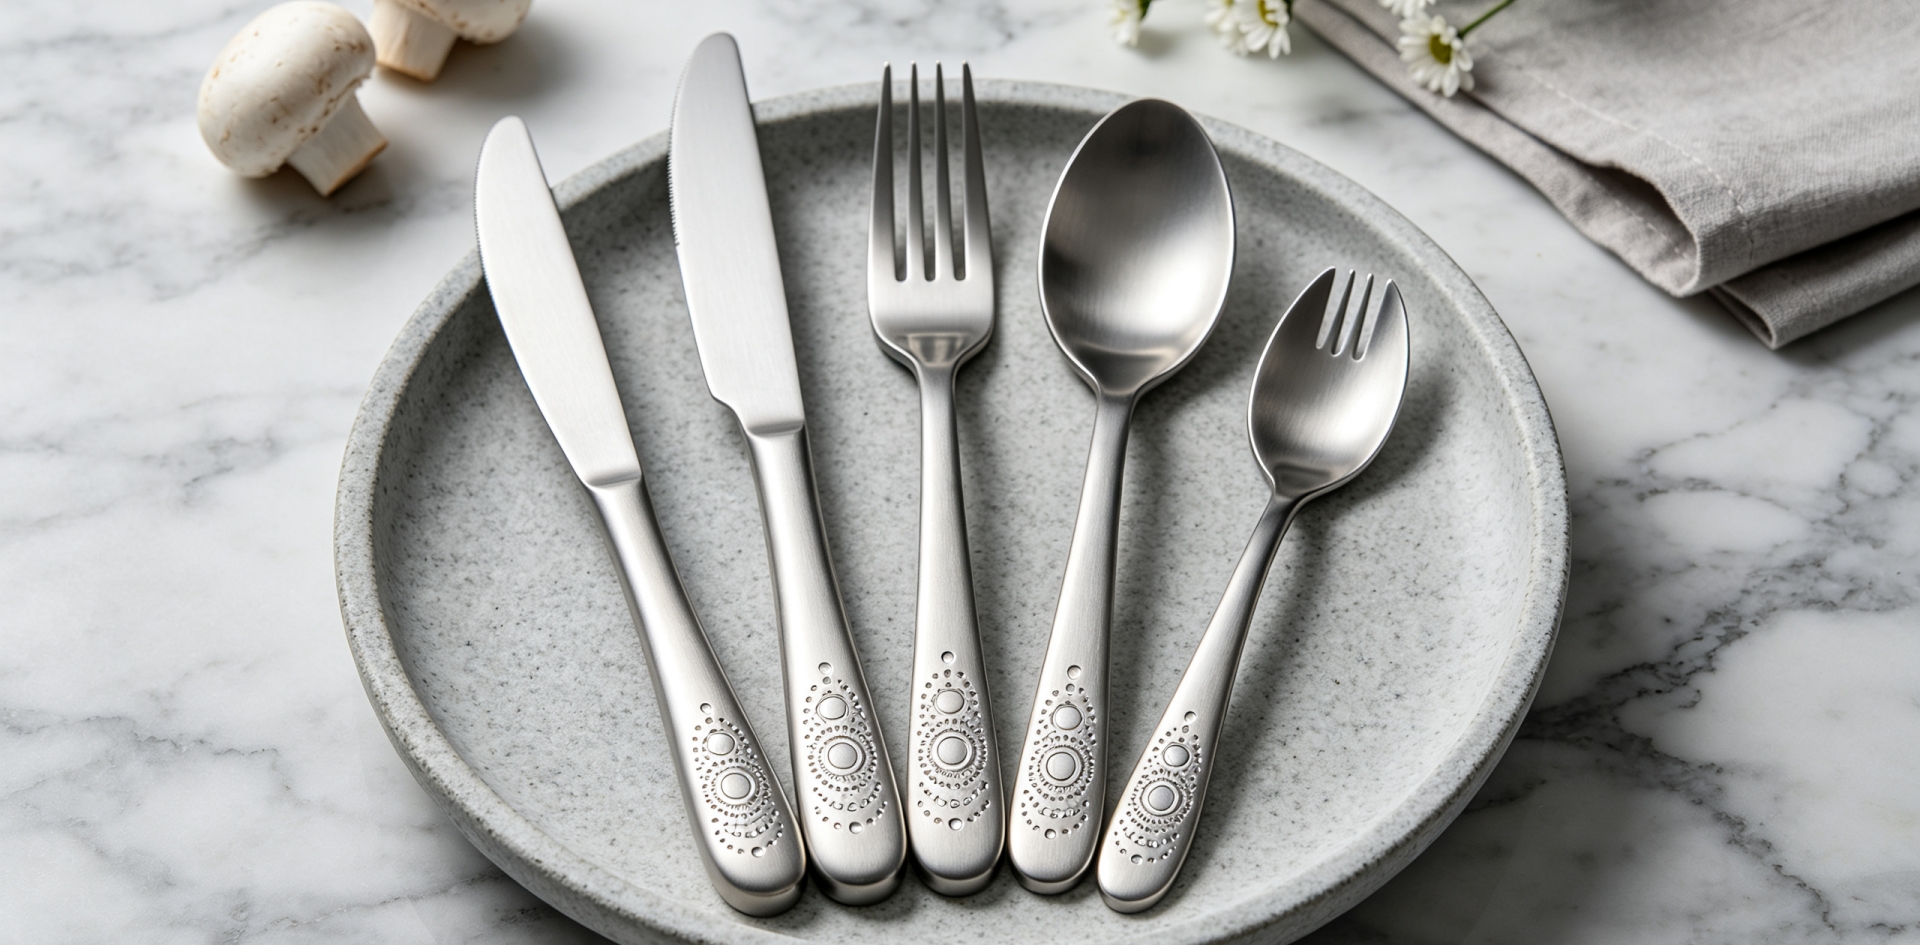
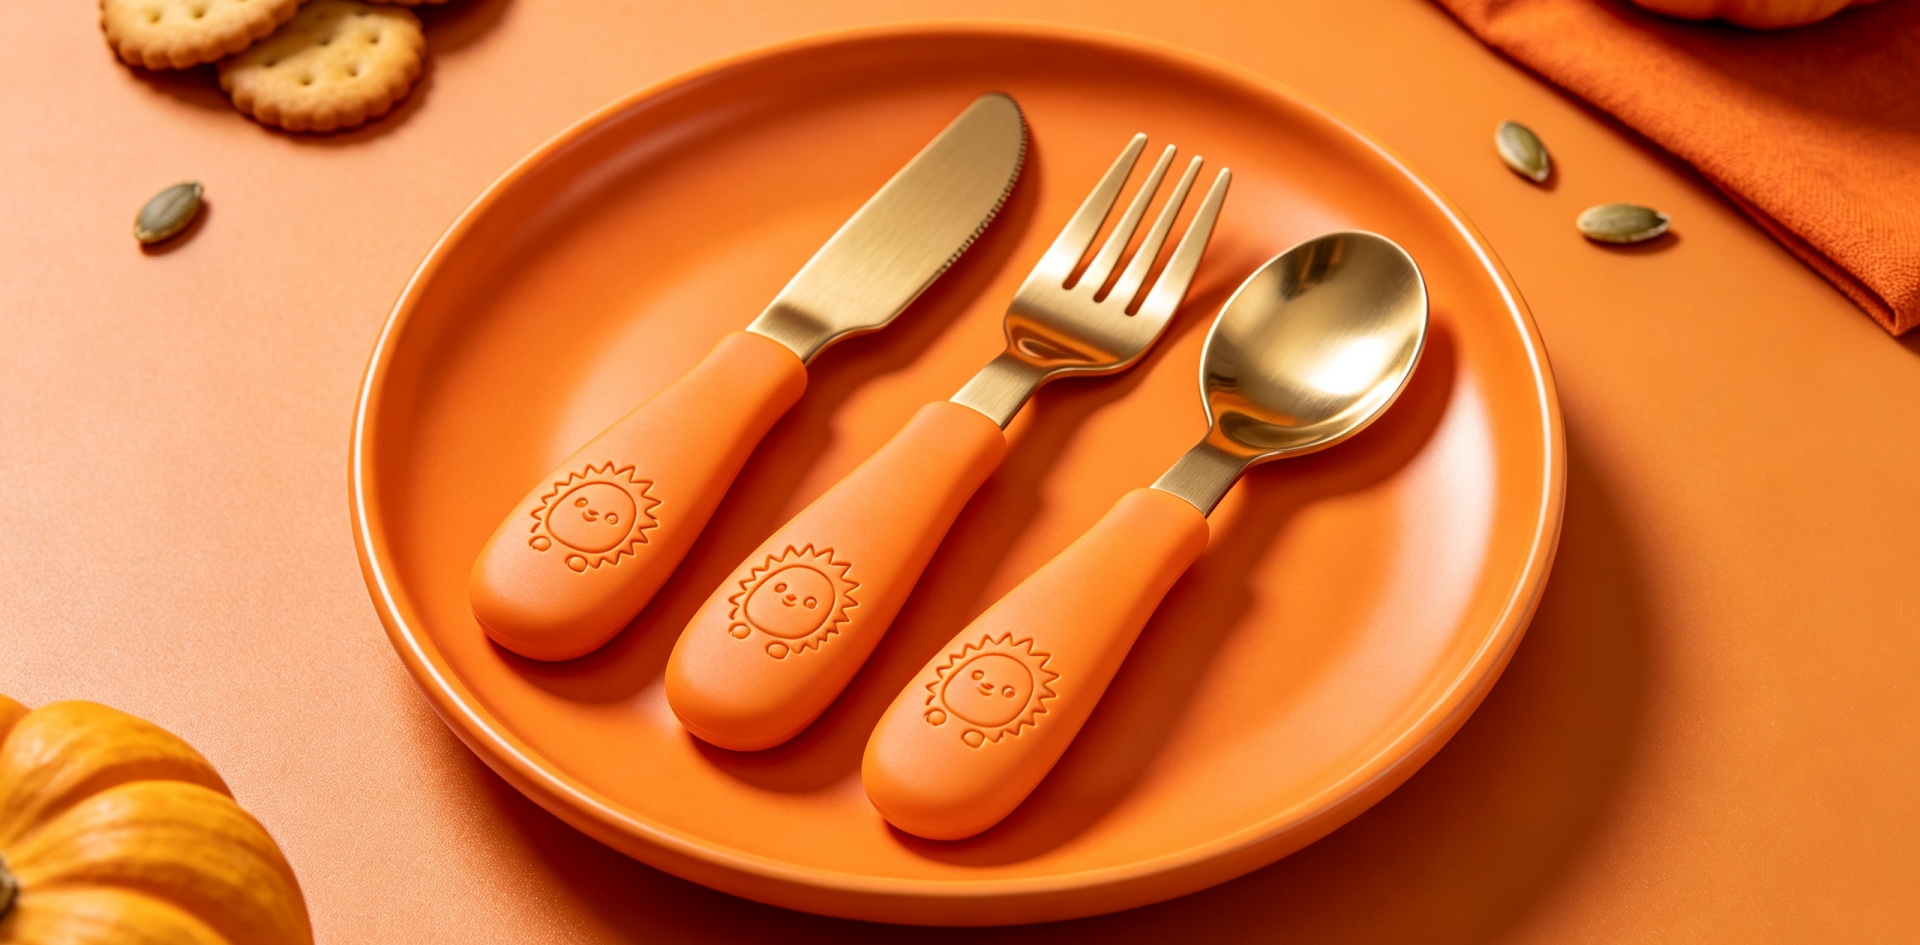
A good demonstration kit should show meaningful differences among product models. Consider including a small selection of stainless steel spoons, dinner forks, table knives, and complete cutlery sets that represent the range being offered.
When choosing samples, look for differences that customers can readily evaluate, such as:
-
Handle shape and overall proportions
-
Product length, thickness, and weight
-
Bowl depth and profile for spoons
-
Tine shape and spacing for forks
-
Blade design and handle construction for knives
-
Polished or brushed surface finishes
-
Standard versus customized product options
Avoid including several nearly identical items unless the purpose is to compare a specific technical difference. A smaller, carefully selected set can make a sales discussion more productive.
Each sample should be identified by its correct model or SKU. Without clear identification, a customer may select a design during the meeting only for the sales team to discover later that the sample cannot be matched confidently to a quotation or product record.
3. Prepare Accurate Product Information Cards
Every sample should have a concise information card or digital record. The information should make it easy for a buyer to connect the physical product with the relevant commercial and technical details.
Depending on the product, include the model number, material specification, dimensions, weight, surface finish, packaging configuration, and available customization options. If the item belongs to a set, list the included pieces and quantities.
Clearly distinguish confirmed specifications from options that require separate approval. For example, a displayed spoon may be a standard sample, while a logo or gift box shown in an accompanying image may be a customization example rather than part of the standard offer.
Avoid unsupported claims about material performance or certifications. If a customer requests testing reports or compliance documents, provide the applicable documentation for review instead of treating a general product card as evidence.
4. Show Finish and Construction Differences Clearly
Stainless steel reflects light, so product appearance can vary with the environment. A demonstration kit should be prepared under consistent lighting where possible, allowing customers to compare surface finishes and design details fairly.
Clean each sample before use and check for fingerprints, dust, scratches, or transport damage. Arrange similar products in a consistent orientation so that differences in shape and finish are easy to see.
For closer technical discussions, include a side profile or dimensioned drawing where the physical sample alone cannot communicate thickness or proportions accurately. Measurements should come from the approved specification rather than visual estimation.
If the kit includes several finish options, label each one clearly. Do not rely on the buyer to distinguish a brushed finish from a polished finish without supporting information.
5. Include Customization and Packaging Examples
Many B2B customers want to understand how a standard stainless steel cutlery design could become part of their own product range. Where relevant, the kit can include approved examples of logo marking, handle design variations, retail boxes, inserts, or branded sleeves.
Keep examples separate from confirmed specifications for a particular customer. A sample produced for one brand should not be presented as available for unrestricted use by another customer, and any third-party artwork should only be shown or used with appropriate authorization.
Packaging samples are useful for discussing product presentation, storage, and shipping configuration. Buyers can compare the size and structure of different boxes, but final dimensions and quantities should be confirmed for the selected product and packing arrangement.
For OEM/ODM projects, record which elements are fixed and which can be customized. This makes it easier to move from a general demonstration to a realistic quotation and sample development plan.
6. Organize the Kit for Efficient Sales Meetings
Arrange samples in a logical order, such as product category, design family, or price segment. The sequence should support the conversation rather than forcing the buyer to search through a mixed collection.
A practical kit may include:
-
A compact sample case with protected compartments
-
Labels linked to product codes
-
A concise product comparison sheet
-
Specification sheets or QR-linked product records
-
Packaging examples where relevant
-
A checklist for recording customer selections and questions
Protect polished surfaces from rubbing against other metal samples during transportation. Separate individual pieces where necessary, and inspect the kit after travel to make sure products remain clean and undamaged.
For international sales visits and trade shows, consider the weight, dimensions, and ease of carrying the kit. Samples should be representative and useful, not unnecessarily bulky.
7. Connect Demonstrations to the Quotation Process
The demonstration is most valuable when it leads to a clear next step. After the meeting, record the models the customer preferred, the specifications discussed, and any unresolved questions.
A follow-up record should include estimated quantities, intended sales channel, required material or finish, branding preferences, packaging expectations, target delivery schedule, and destination market where known. These details help the supplier prepare a quotation that reflects the customer's actual requirements.
If the buyer requests a customized sample, identify the exact design reference and approval requirements before development begins. Do not assume that selecting a demonstration sample automatically confirms the final production specification.
Where several decision-makers are involved, send a summary with product images and model references so that procurement, merchandising, and quality teams can review the same options.
8. Maintain and Update Demonstration Samples
A demonstration kit should be reviewed regularly. Products may be discontinued, specifications may change, and new models may become more relevant to the target market.
Assign responsibility for checking sample condition, verifying labels, replacing damaged items, and updating product information. Remove outdated samples from active presentations or clearly mark them as historical references.
After each customer meeting, record useful feedback and return samples to their designated compartments. This small routine helps sales teams maintain consistent presentations and reduces the chance of confusing similar models during future discussions.
Working with Homefelt on Stainless Steel Cutlery Collections
Homefelt factory supports B2B buyers sourcing stainless steel spoons, forks, knives, and cutlery sets for wholesale and bulk orders. OEM/ODM services can include product design customization, logo requirements, packaging coordination, and transportation planning.
When preparing a product demonstration for your sales team, share your target market, preferred product categories, expected customer profile, and customization needs. Homefelt can discuss suitable product options and the specifications needed to develop a focused sample selection.
For wholesale quotations or customized stainless steel flatware projects, contact ingrid@homefelt.net. Include your preferred models, estimated order quantities, packaging expectations, and destination market to help move the discussion toward a practical purchasing plan.
You May Be Interested In
-
How to Prepare a Stainless Steel Cutlery Collection for Market Launch
-
How to Prepare Stainless Steel Cutlery Product Listings for Retail Buyers
-
How to Build a Clear SKU Naming System for Stainless Steel Cutlery Collections
-
How to Manage Supplier Change Notifications for Stainless Steel Cutlery Orders
How to Compare Stainless Steel Cutlery Samples Before Choosing a Supplier
How to Coordinate HS Code Classification for Stainless Steel Cutlery Exports
Related Article