How to Make a Stainless Steel Spoon: A Step-by-Step Guide
author: Alisa
2025-10-31
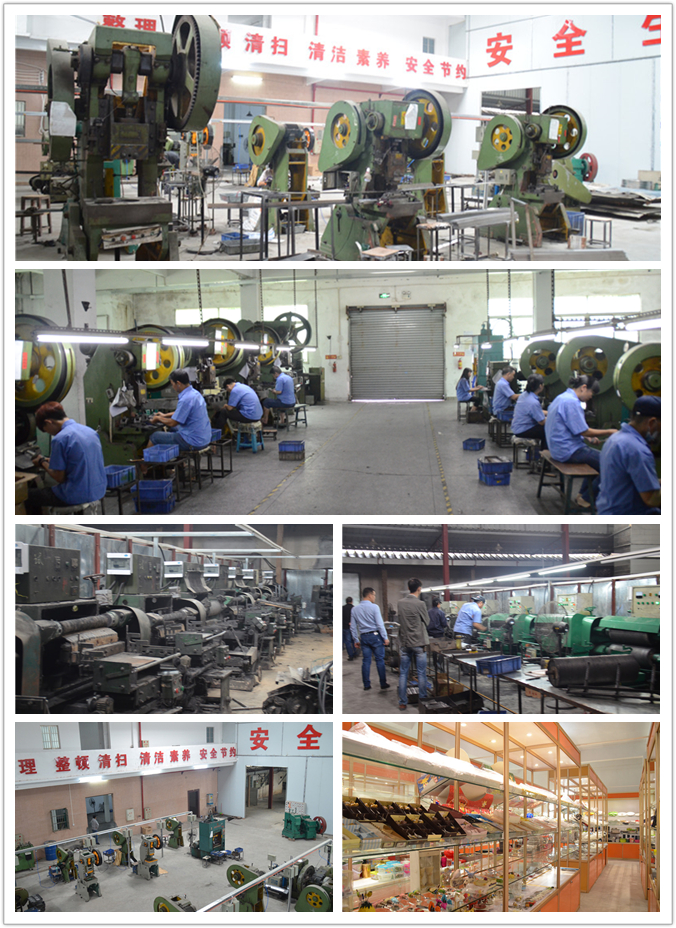
The first critical step is selecting high-quality stainless steel, as it directly impacts the spoon’s durability, safety, and appearance.
Blanking is the process of cutting a rough “blank” (the basic shape of the spoon) from the stainless steel sheet. This step uses a stamping press (mechanical or hydraulic) and a custom steel die (shaped like a spoon outline).
After blanking, the flat metal blank is shaped into a 3D spoon with a curved bowl (for holding food) and a tapered handle. Two common methods are used for shaping:
A. Forging (for High-End Spoons)
B. Stamping (for Mass-Produced Spoons)
After shaping, the spoon has rough edges (from blanking and shaping) and small metal “burrs” (sharp, raised bits of metal) that could cut hands or trap food. Trimming and deburring fix this:
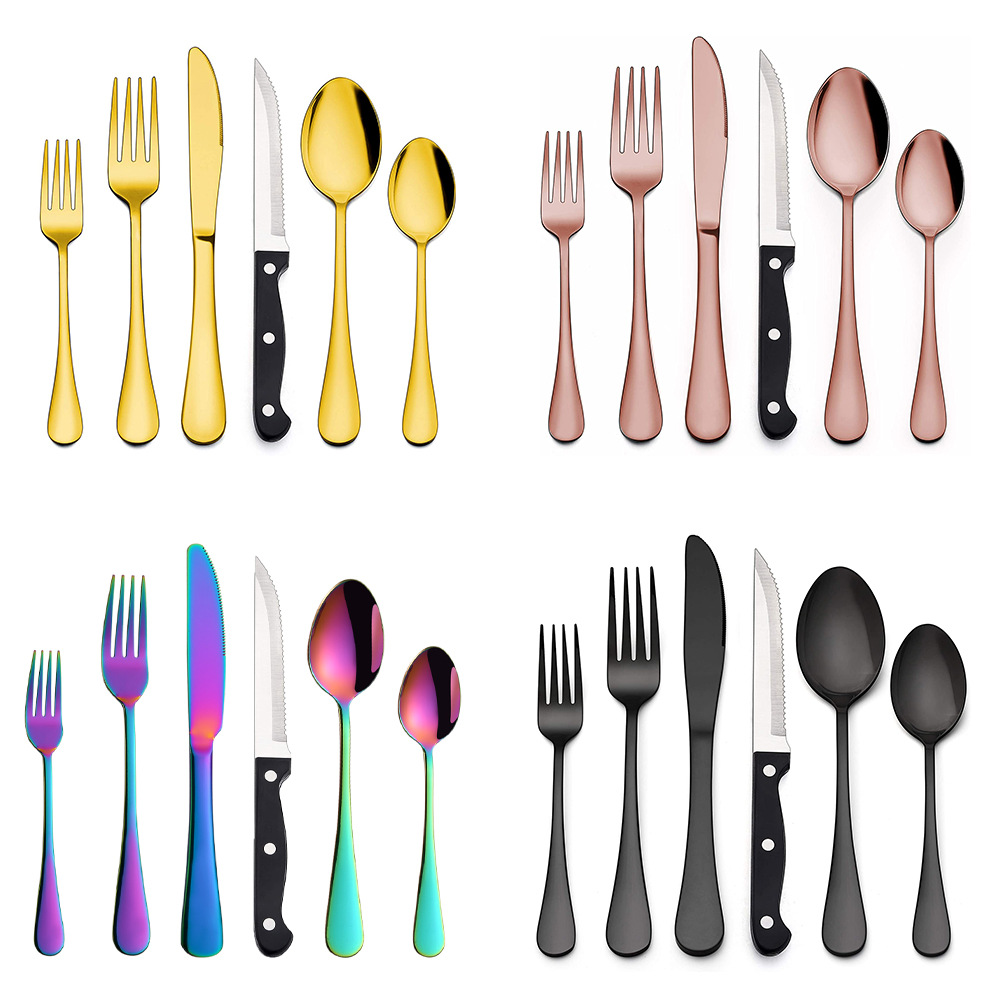
Surface finishing determines the spoon’s appearance (e.g., shiny, matte) and texture. Common finishes for stainless steel spoons include:
Polishing creates a shiny, reflective surface—ideal for formal tableware. It uses a series of polishing wheels (coated with abrasive compounds, like aluminum oxide or diamond paste) in increasing levels of fineness:
- Rough Polishing: A coarse wheel (80-120 grit) removes scratches from shaping and deburring.
- Medium Polishing: A medium wheel (240-400 grit) smooths the surface further.
- Fine Polishing: A soft wheel (600-1000 grit) creates a mirror-like shine.
For a ultra-glossy finish, some factories add a final step: buffing with a wool wheel and a polishing compound (e.g., rouge).
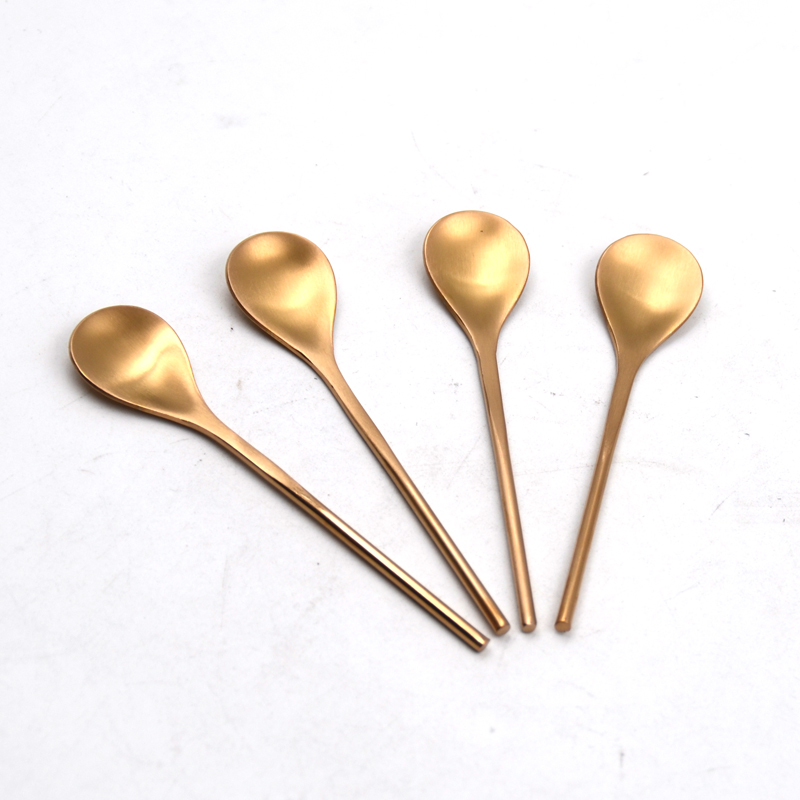
Brushing creates a subtle, non-reflective texture (popular for modern or casual tableware). It uses a brushing machine with a rotating abrasive belt (180-320 grit) that moves in one direction (e.g., along the handle’s length). The belt leaves fine, parallel lines on the surface—this hides fingerprints and scratches better than a polished finish.
A less common finish for spoons, sandblasting uses high-pressure air to blast tiny abrasive particles (e.g., aluminum oxide) onto the surface. It creates a soft, eggshell-like texture that’s non-slip (good for children’s spoons).
Before packaging, every spoon undergoes strict quality checks to meet food safety and performance standards. Inspectors (or automated machines) check for:
- Dimensions: Spoons are measured to ensure they match specifications (e.g., handle length, bowl depth).
- Surface Defects: Scratches, dents, or uneven polishing are checked—defective spoons are set aside for rework or recycling.
- Edge Safety: The bowl’s rim is tested with a “sharpness gauge” to ensure it’s smooth (no burrs that could cut lips).
- Corrosion Resistance: A small sample of spoons is dipped in a saltwater solution (5% salt) for 24 hours—no rust should form (this tests compliance with 304/316 stainless steel standards).
- Food Safety: Spoons are tested for heavy metal leaching (e.g., lead, nickel) using laboratory methods (e.g., atomic absorption spectroscopy) to meet FDA or EU standards. 8. Step 7: Packaging – Preparing for Distribution
- Once approved, spoons are cleaned (to remove polishing dust) and packaged
How to Make a Stainless Steel Fork: A Step-by-Step Guide
Authentic Tiramisu Recipe: A Classic Italian Dessert