How to Make a Stainless Steel Fork: A Step-by-Step Guide
author: Alisa
2025-10-31
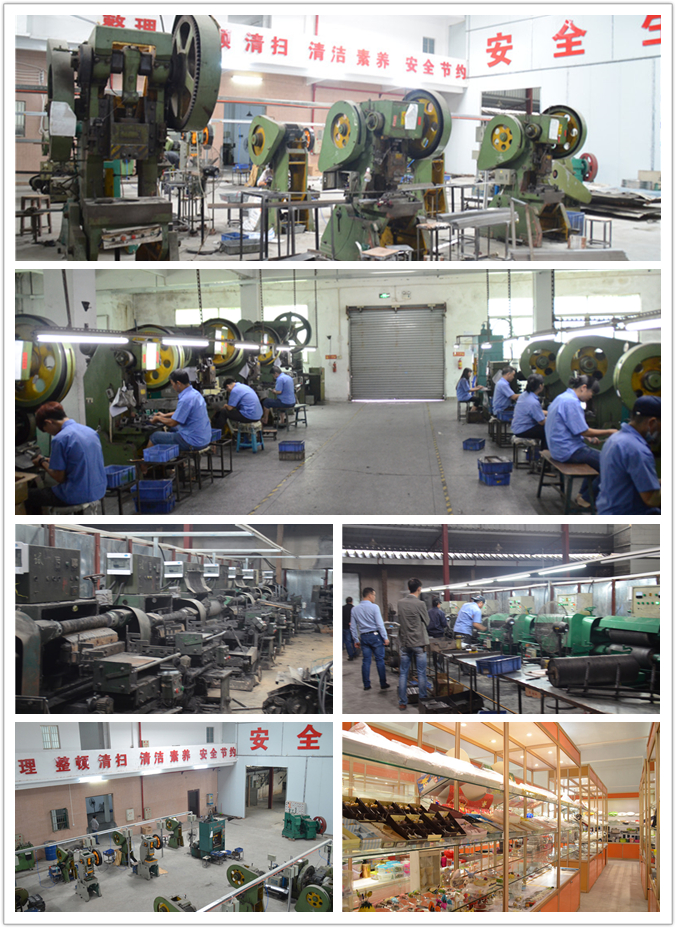
Blanking creates the initial flat outline of the fork, similar to spoon blanking but with a design that accounts for the future tines. This step uses a hydraulic stamping press and a custom steel die shaped like a fork (with a handle and a wide, flat “head” where tines will be cut).
Unlike spoons, forks require precise cutting to create the tines—sharp enough to pierce food but smooth enough to avoid injury. This is the most specialized stage of fork production, using either laser cutting (for precision) or stamping (for mass production):
A. Laser Cutting (High-End or Custom Forks)
Laser cutting is used for premium forks or designs with unique tine shapes (e.g., 4-tine, 5-tine, or decorative curved tines). It offers unmatched precision, ensuring even spacing and sharp, clean edges.
B. Stamping (Mass-Produced Forks)
For everyday forks, stamping is faster and more cost-effective than laser cutting. A specialized tine-stamping die (with gaps for the tines) is used to punch out the tooth shape.
After cutting the tines, the flat fork blank is shaped into a 3D utensil. This step is more complex than spoon shaping, as it requires two key adjustments: curving the tines (to lift food) and contouring the handle (for grip).
Forks require more rigorous deburring than spoons, as rough tine edges can cut lips or trap food. This step combines trimming (to refine the outline) and targeted deburring (to smooth tines)
Fork surface finishing is nearly identical to spoon finishing, but the tines require extra care to avoid damaging their shape. Common finishes include:
A. Polishing (Glossy Finish)
Polishing creates a reflective surface for formal tableware. Forks are polished in three stages using progressively finer wheels:
- Rough Polishing: A 100-150 grit wheel removes scratches from shaping and deburring, focusing on the handle and tine bases (avoiding the delicate tips).
- Medium Polishing: A 300-400 grit wheel smooths the surface, including the tines (using a smaller wheel to reach between them).
- Fine Polishing: A 800-1200 grit wool wheel creates a mirror-like shine. A final buff with rouge ensures the tines glow without losing their sharpness.
B. Brushing (Matte Finish)
Brushing is popular for casual or modern forks, as it hides fingerprints and minor scratches. A narrow abrasive belt (200-320 grit) moves along the fork’s length, creating parallel lines on the handle and tines. The belt is designed to avoid bending the tines—pressure is reduced to 50% of what’s used for spoons.
C. Sandblasting (Textured Finish)
Used for children’s forks or outdoor cutlery, sandblasting creates a non-slip surface. High-pressure air blasts tiny aluminum oxide particles onto the fork, but the tines are covered with a protective mask during this step to preserve their ability to pierce food.
Unlike spoons (where annealing is optional for small sizes), annealing is required for all forks—the tines and their connection to the handle are prone to internal stress from cutting and shaping. Annealing relaxes the metal, preventing tines from bending or breaking over time.
Fork inspection is more detailed than spoon inspection, with a focus on the tines’ safety and functionality.
Fork packaging prioritizes protecting the delicate tines from bending or scratching—unlike spoons, which only need basic protection:
How to Make a Stainless Steel Dinner Knife
How to Make a Stainless Steel Spoon: A Step-by-Step Guide
Related Article