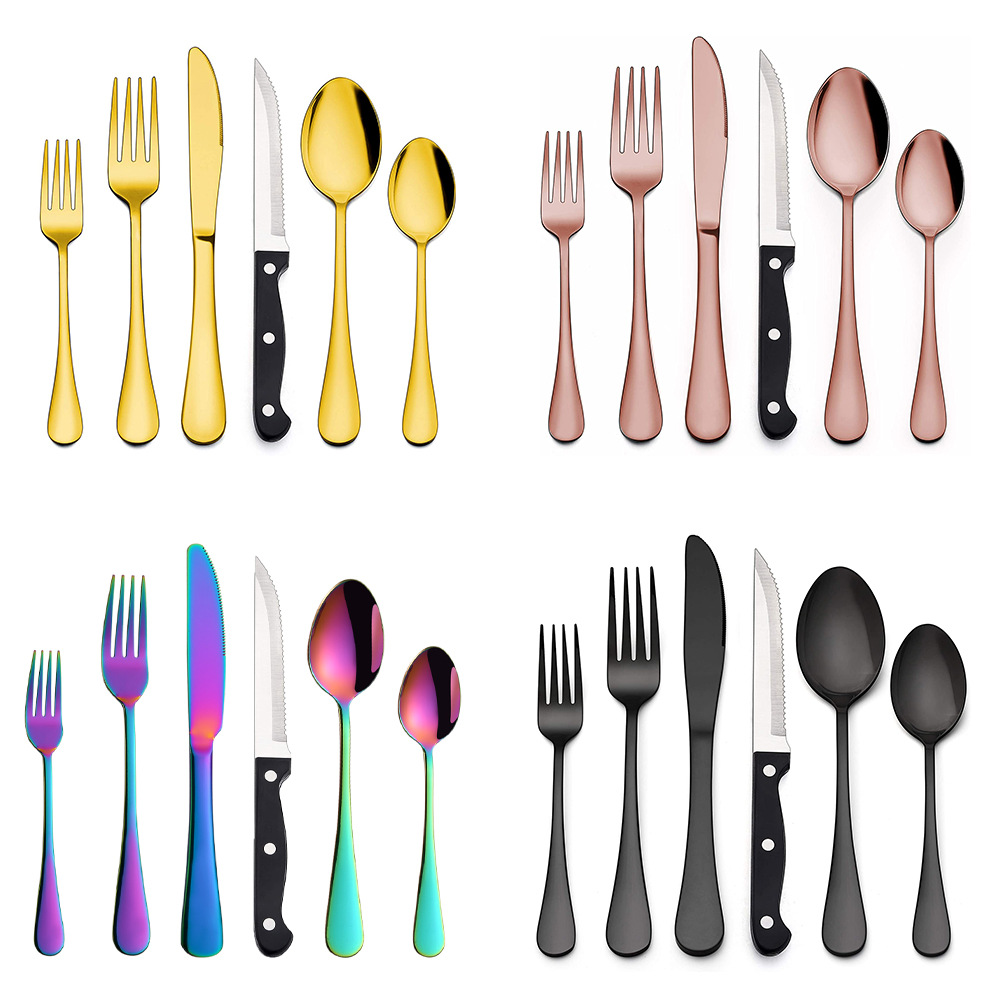
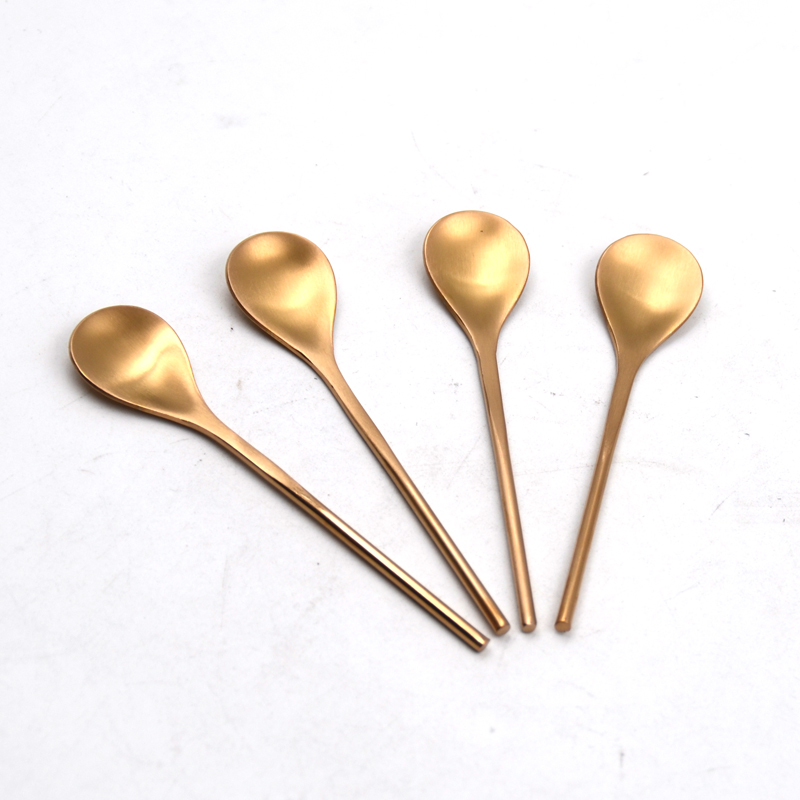
How to Make a Stainless Steel Dinner Knife
author: Alisa
2025-10-31

Unlike spoons and forks (which use single-grade stainless steel), dinner knives often use two-part construction (blade + handle) or a single stainless steel grade optimized for both cutting and strength. The choice depends on cost, durability, and design:
The blade needs to hold a sharp edge while resisting corrosion from food acids (e.g., tomatoes, citrus). Common grades include:SS420
Blanking creates the initial flat outline of the knife, which includes both the blade shape (pointed tip, curved or straight edge) and the handle. This step uses a hydraulic stamping press (for mass production) or CNC laser cutting (for custom designs) with a steel die shaped like the knife.
Forging is not optional for dinner knives—it refines the blade’s thickness, creates a strong spine (the thick top edge of the blade), and aligns the metal’s grain structure for better edge retention. Unlike spoon/fork stamping, knife forging uses hot forging (heat + pressure) for precision:
- Process:
- Heating: The knife blank is placed in a furnace and heated to 1,100-1,250°C (red-hot)—hotter than spoon forging (1,000-1,200°C)—to make the metal malleable enough to shape the blade.
- Press Forging: The hot blank is transferred to a hydraulic forging press with a blade-shaped mold. The press applies 200-300 tons of pressure to:
- Taper the blade edge (thinning it to 0.5-1.0mm at the cutting edge).
- Thicken the spine (2.0-2.5mm) for strength—prevents the blade from bending while cutting.
- Create a “bevel” (the angled surface of the blade that leads to the edge)—standard dinner knives have a 15-20° bevel on each side.
- Cooling: The forged blank is air-cooled to 500-600°C (called “annealing pre-cooling”) to reduce internal stress before heat treatment.
Heat treatment is the most critical step for dinner knives—it transforms the blade from soft, malleable metal into a hard, edge-holding tool. This stage is rarely needed for spoons/forks (which don’t require sharp edges) but is mandatory for knives.
After heat treatment, the blade’s edge is refined to a sharp, uniform point. This step uses precision grinding machines with abrasive wheels of varying grits
If the knife uses a separate handle (e.g., plastic, wood), this step joins the blade to the handle. The process depends on the handle material:
A. Plastic Handles (PP/Nylon)
- Tang Preparation: The blade’s “tang” (the part that inserts into the handle) is roughened with a 120-grit abrasive belt to improve adhesion.
- Molding: The tang is inserted into a plastic injection mold. Molten PP or nylon (heated to 180-220°C) is injected into the mold, covering the tang.
- Cooling and Trimming: The mold cools for 10-15 minutes, and the handle is removed. Excess plastic (called “flash”) is trimmed with a knife or laser.
B. Wood Handles
- Tang Drilling: A hole is drilled through the wood handle to match the tang’s size.
- Gluing: Food-safe epoxy glue is applied to the tang, which is then inserted into the wood handle.
- Clamping and Curing: The handle is clamped for 24 hours to ensure the glue sets. The joint is sanded smooth to remove excess glue.
C. Stainless Steel Handles (Full-Tang)
For single-material knives, the handle is shaped during forging and refined here: a 240-grit abrasive belt adds texture (e.g., grooves for grip) and smooths the edges.
Like spoons and forks, knives require deburring to remove sharp edges, but the focus is on the blade-handle joint and the handle itself:
- Deburring:
- The blade-handle joint is smoothed with a nylon brush to remove any metal or plastic burrs—these can cut fingers during use.
- The handle’s edges are rounded with a 180-grit abrasive wheel for comfort.
- Surface Finishing:
- Blade Finish:
- Polished (Glossy): A 800-1200 grit wheel polishes the blade to a mirror shine—common for formal tableware.
- Satin (Matte): A 240-400 grit belt creates a brushed finish, hiding fingerprints and minor scratches—ideal for everyday use.
- Black Oxide: A chemical treatment (heated to 120-150°C) creates a black, corrosion-resistant finish—used for tactical or modern knives.
- Handle Finish:
- Plastic handles: A 400-grit wheel polishes the surface to a smooth texture.
- Wood handles: A food-safe mineral oil or beeswax finish is applied to protect against water damage.
Knife inspection is more rigorous than spoon/fork checks, with a focus on blade performance and handle stability:
- Blade Checks:
- Sharpness: The blade is tested by cutting through a tomato (should slice cleanly without crushing) and a sheet of paper (should cut in one pass).
- Hardness: A Rockwell hardness tester measures the blade (must be 52-60 HRC, depending on grade).
- Straightness: The blade is placed on a flat surface—no part should lift more than 0.1mm (warped blades cut unevenly).
- Corrosion Resistance: A sample blade is dipped in a 5% saltwater solution for 72 hours (longer than spoons/forks) to ensure no rust forms.
- Handle Checks:
- Stability: The handle is pulled with 50N of force (about 5kg) to ensure it doesn’t separate from the blade.
- Comfort: Inspectors hold the knife to check for sharp edges or rough spots on the handle.
- Food Safety: Heavy metal leaching (lead, nickel) is tested via atomic absorption spectroscopy—critical for blades that contact food directly.
Knife packaging prioritizes preventing blade damage and user injury—unlike spoons/forks, which only need basic protection:
- Individual Wrapping: Each knife is wrapped in a thick paper or plastic sleeve with a reinforced blade section. Some sleeves have a “safety tab” that covers the tip to avoid accidental cuts during unpacking.
- Set Packaging: For cutlery sets, knives are placed in cardboard trays with separate, padded slots for the blade. The tray is labeled with “Caution: Sharp Blade” to alert handlers.
- Labeling: Packages include material info (e.g., “420 Stainless Steel Blade”), sharpening instructions (e.g., “Use a honing steel weekly”), and safety warnings (e.g., “Keep away from children”).
Stainless Steel Portable Utensil Sets
How to Make a Stainless Steel Fork: A Step-by-Step Guide