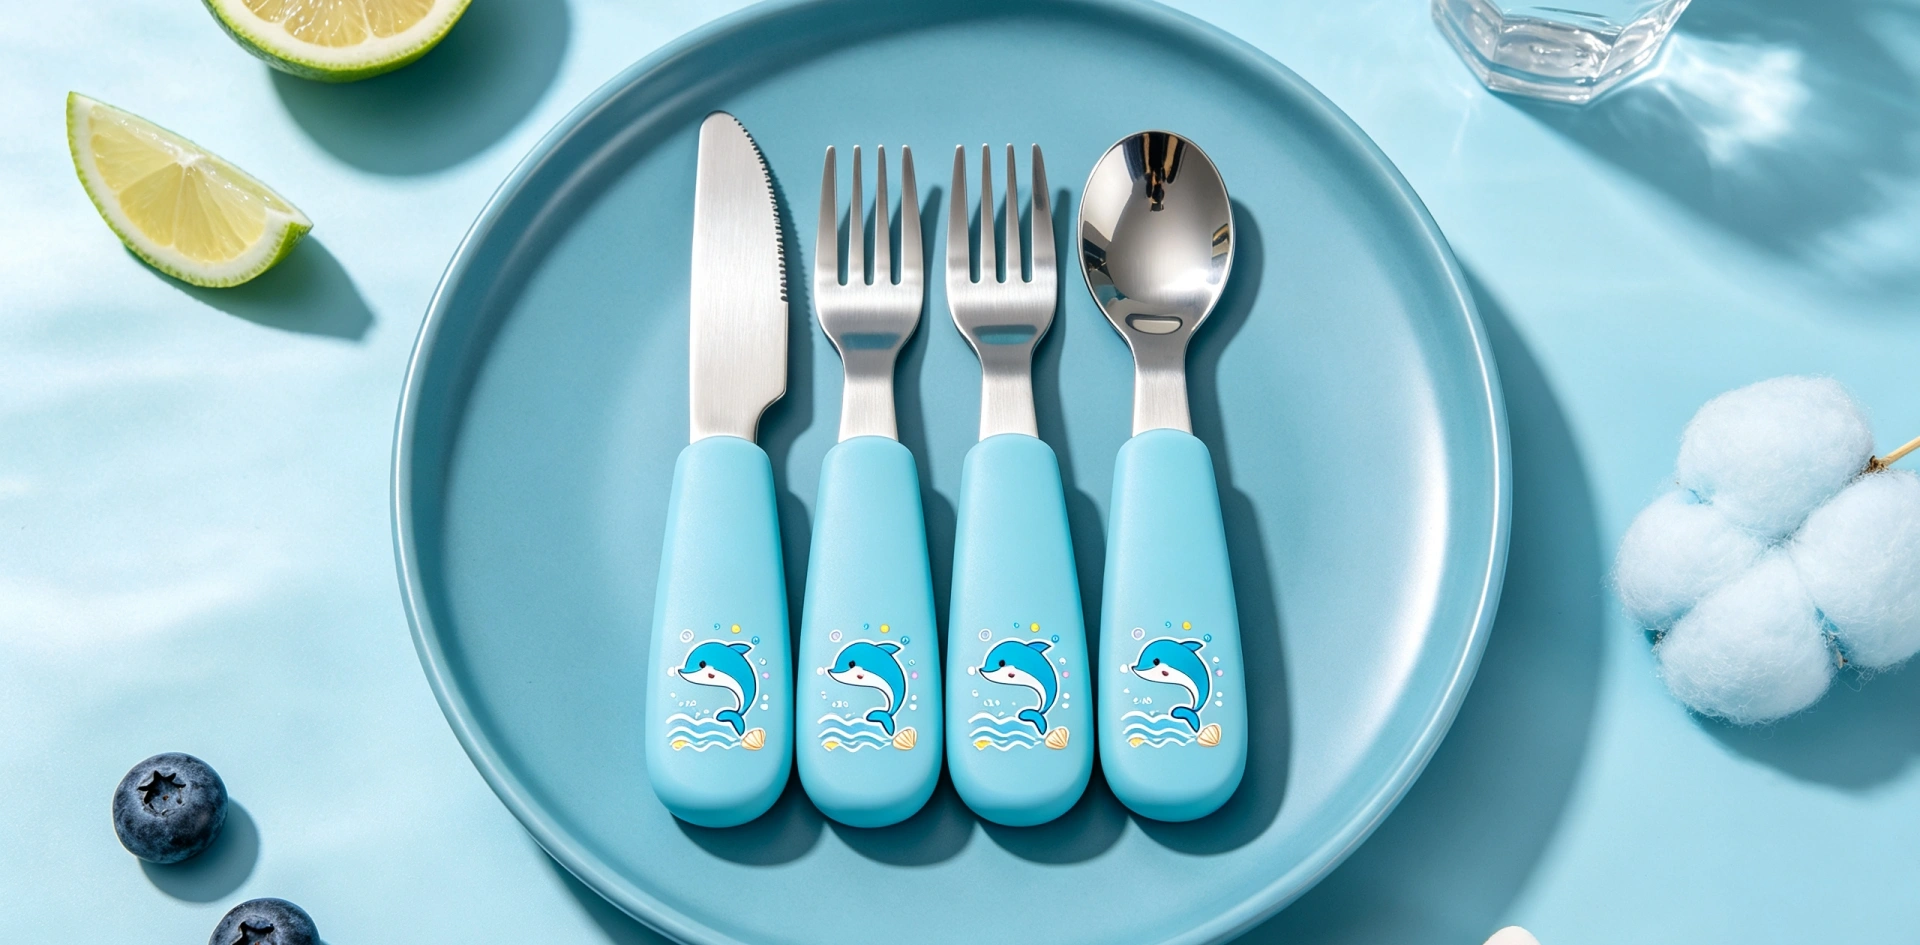
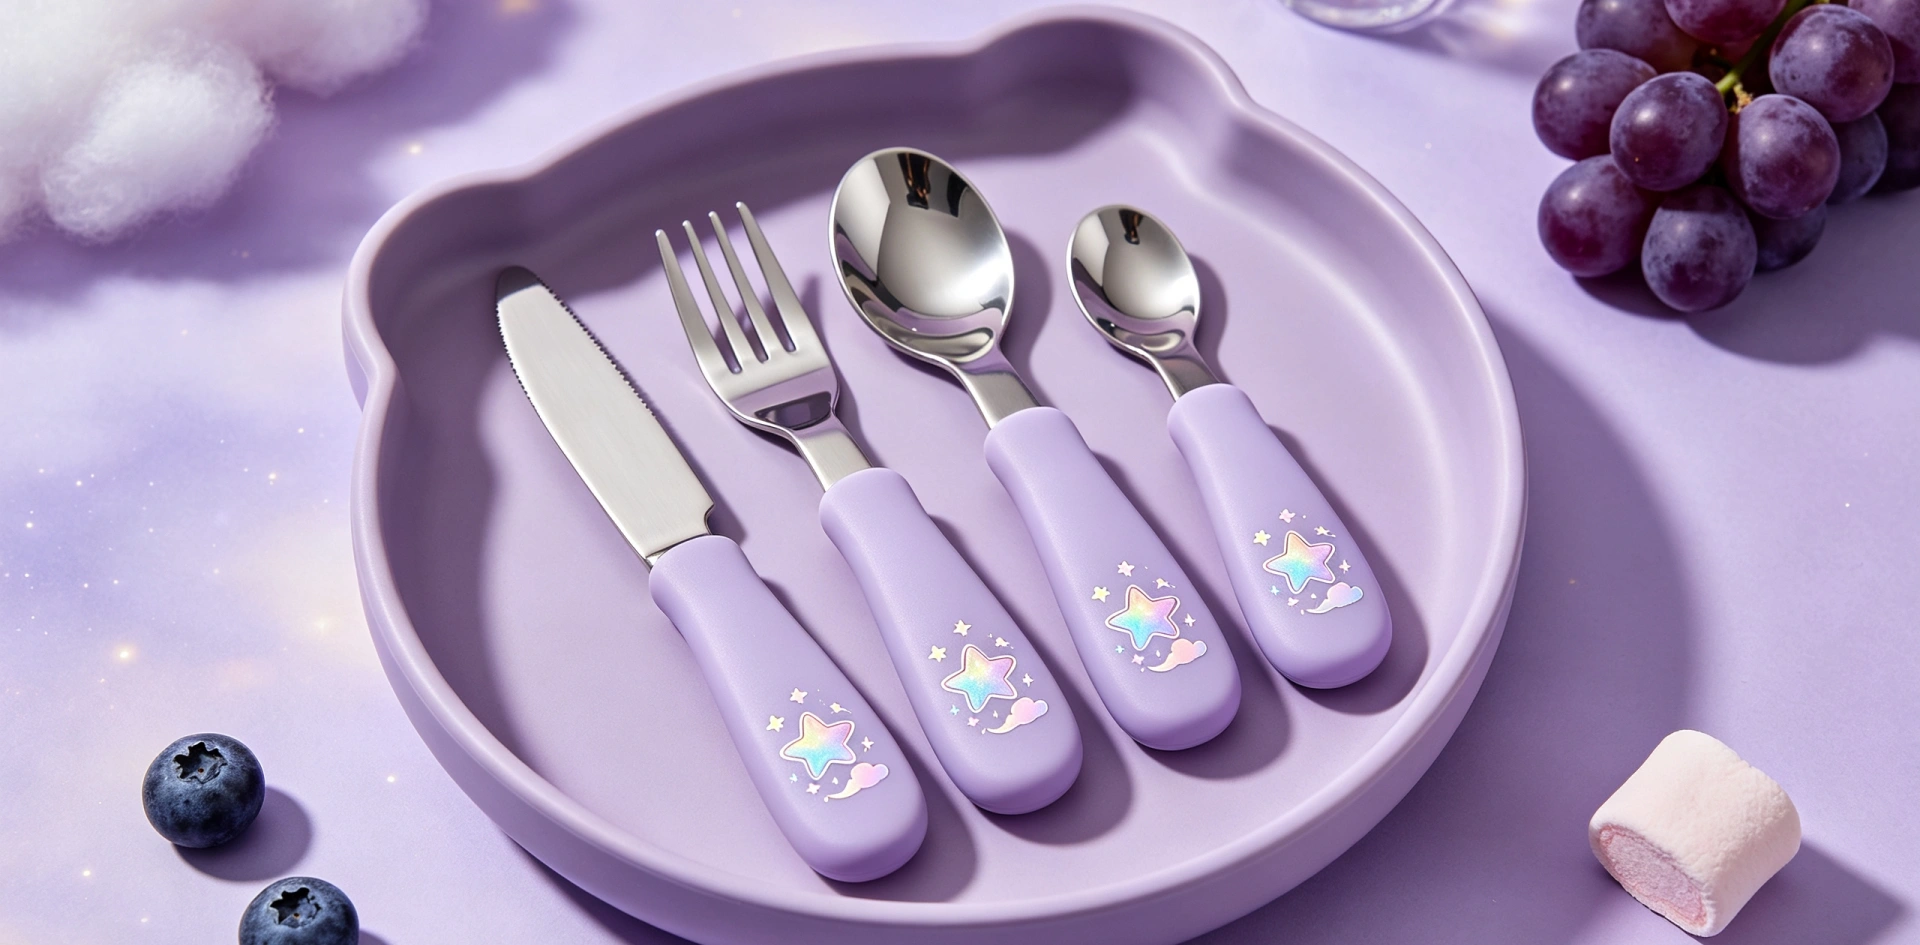
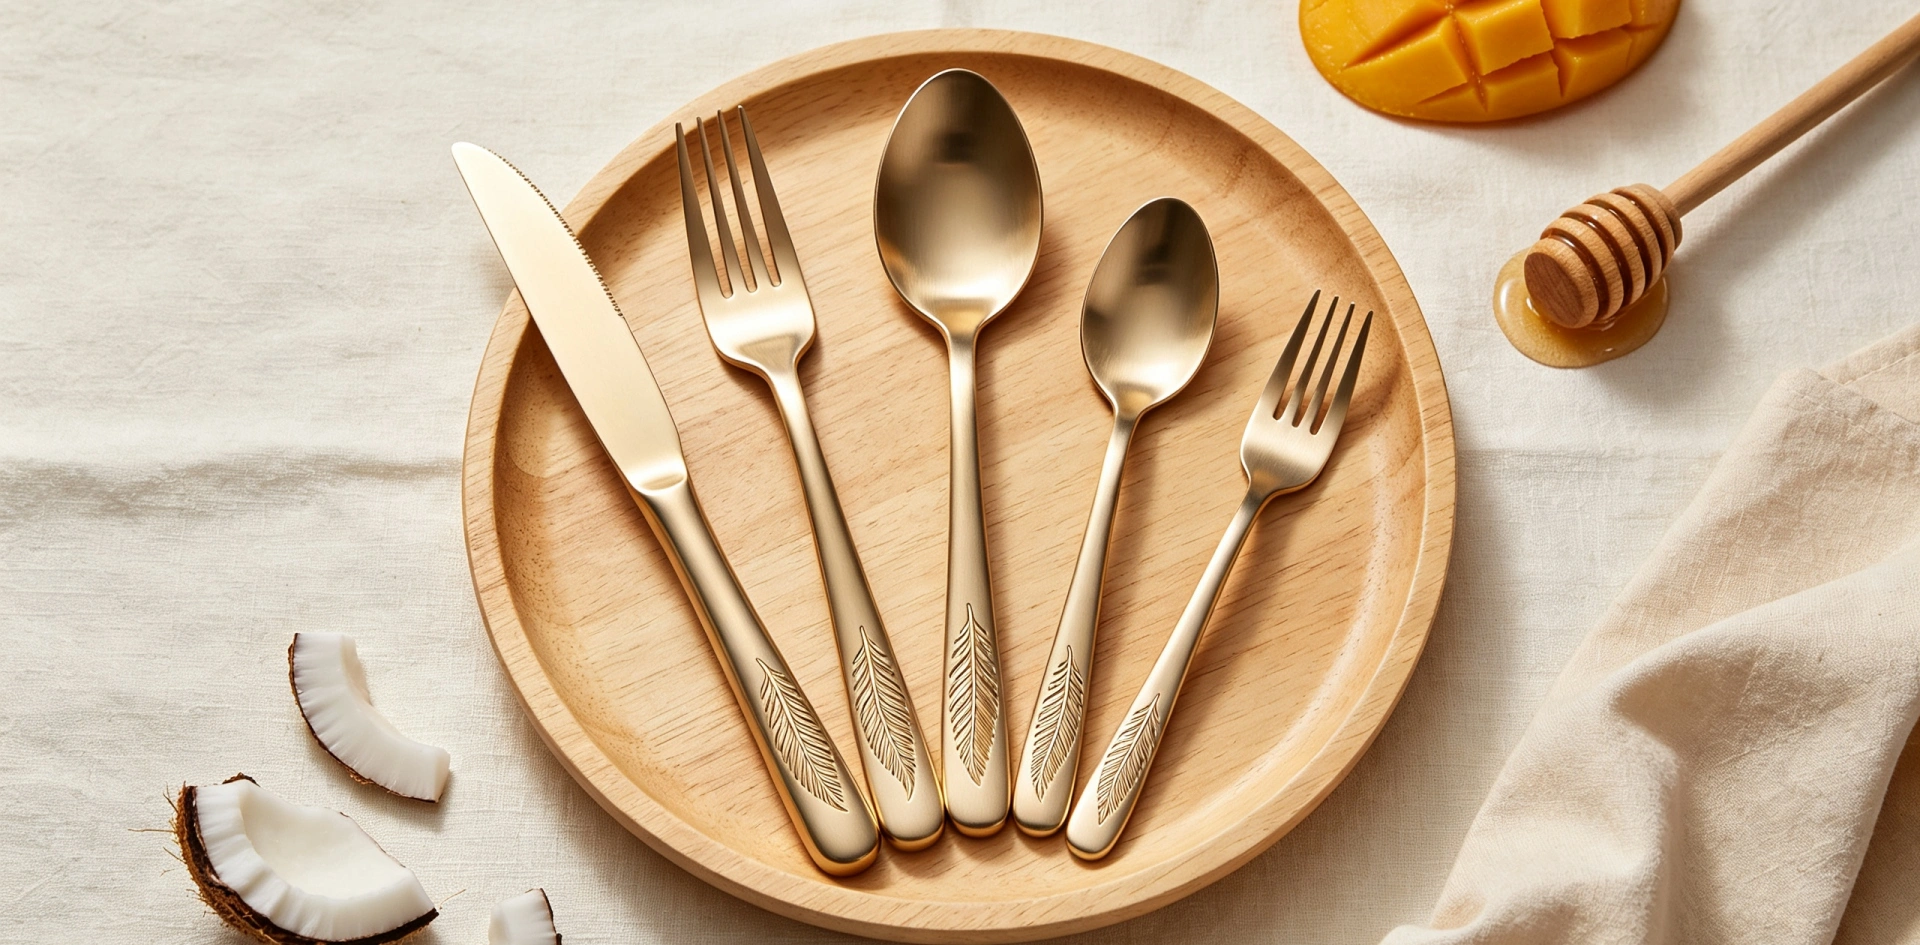
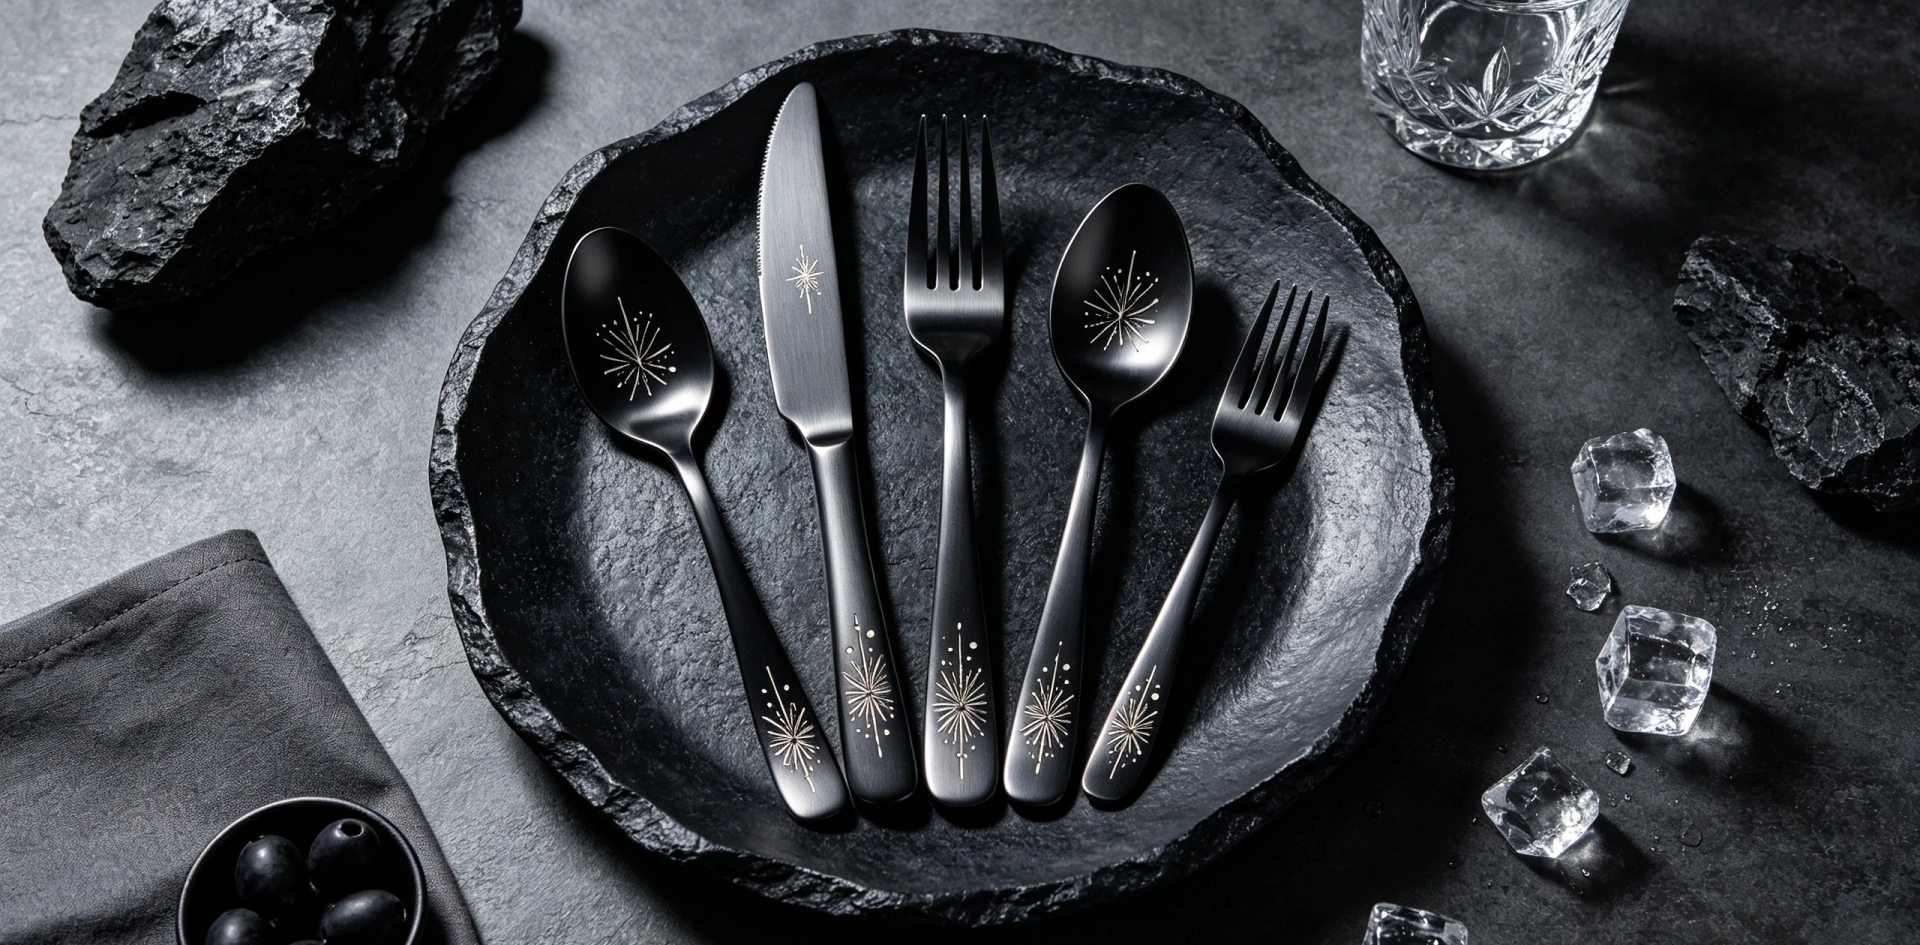
How to Stamp Cutlery?

How to Stamp Cutlery?
Stamping cutlery is a process that adds a personal or professional touch to your flatware, making it unique and special. Whether you want to customize reusable forks and reusable spoons for a personal event or create branded party plastic cutlery for your business, stamping is a practical and stylish option. In this guide, we'll walk you through the steps to stamp your cutlery effectively.
1. Choose the Right Cutlery
Selecting the appropriate cutlery is the first step in the stamping process.
- Reusable Forks & Spoons: These are ideal for stamping as they are durable and can withstand the stamping process. Choose high-quality materials like stainless steel for the best results.
- Party Plastic Cutlery: If you’re planning a large event and need a cost-effective option, party plastic cutlery can also be stamped, though it requires a gentler approach.
2. Gather Your Stamping Tools
To achieve a clean and professional stamp, you'll need the following tools:
- Metal Stamps: For reusable forks and reusable spoons, metal stamps are essential. These come in various designs and sizes, allowing for customization.
- Stamping Hammer: A specialized hammer ensures even pressure is applied to the stamp.
- Stamping Block: This provides a solid surface for stamping, preventing the cutlery from bending or warping.
3. Prepare Your Cutlery
Before stamping, it's important to prepare your cutlery:
- Clean the Surface: Ensure that the cutlery is clean and free from oils or residue. This will help the stamp adhere better.
- Positioning: Place the cutlery on the stamping block, positioning it so that the area to be stamped is accessible.
4. The Stamping Process
Now that everything is in place, it's time to stamp your cutlery:
- Align the Stamp: Place the metal stamp on the desired area of the cutlery. Hold it firmly in place.
- Strike with Precision: Using the stamping hammer, strike the stamp with a controlled and firm motion. For party plastic cutlery, use less force to avoid damage.
- Check the Imprint: After stamping, check the imprint to ensure it’s clear and deep enough. If necessary, you can re-stamp to deepen the mark.
5. Finishing Touches
After stamping, you can enhance the appearance of your stamped cutlery:
- Polishing: Polish the stamped area to remove any rough edges and give it a professional finish.
- Color Filling: For a more noticeable imprint, you can fill the stamp with color, making it stand out on the reusable forks and reusable spoons.
6. Display with Pride
Once your cutlery is stamped and polished, it’s ready to be used or displayed. Whether for a special event or a product offering by Homefelt, stamped cutlery adds a unique and personalized touch that customers will appreciate.
What Cutlery to Use First
How to Make Bamboo Cutlery: A Sustainable Guide by Homefelt
Related Article